User launches Wisvi_e.exe, and then the following screen is displayed.
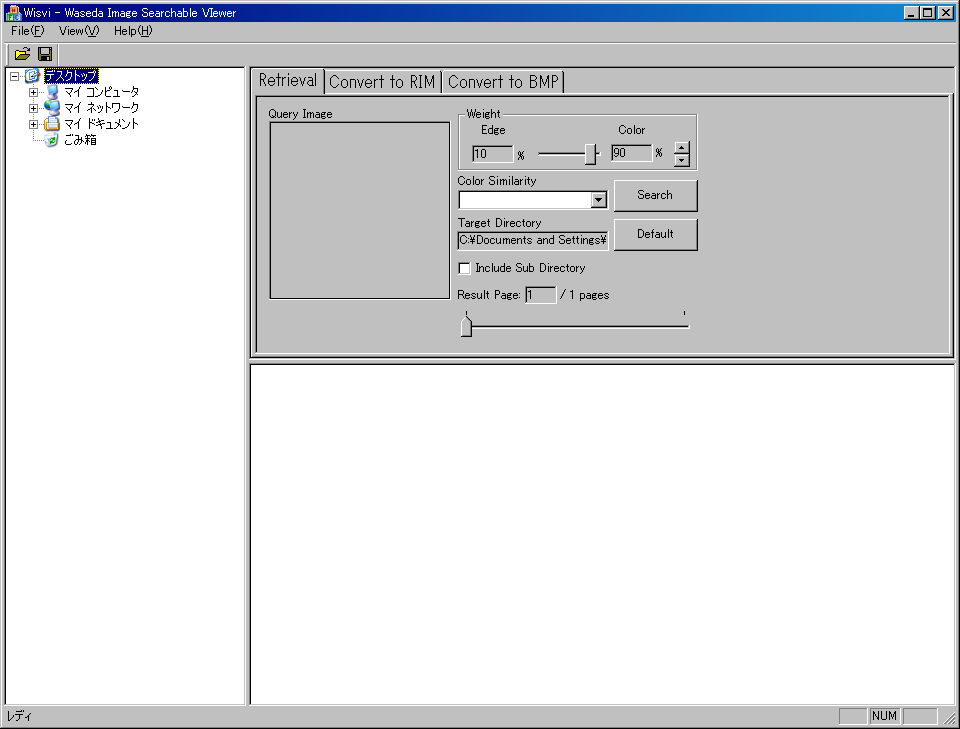
Wisvi - Waseda Image Searchable VIewer - looks for RIM images which is similar to a query image. In this page, we explain how to use Wisvi easily. Thank you for coming this web page!
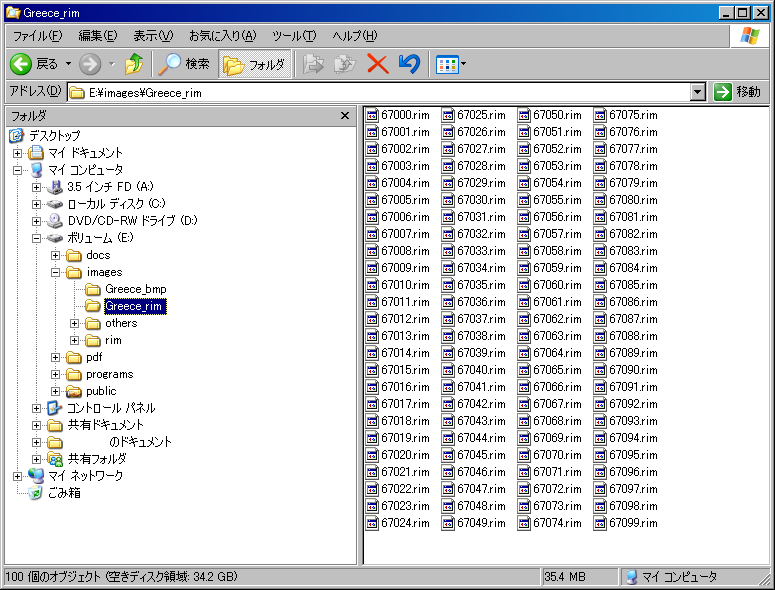
User launches Wisvi_e.exe, and then the following screen is displayed.
Please select a target directory, in the tree view, which has RIM images. If you choose a directory, thumbnail images in the directory will be loaded and displayed at the screen. If you check "include sub directory", thumbnail images will be loaded including all sub directories.
When there is no RIM images included in the target directories, it is not searched. Please look at "3. file conversions from other image formats to the RIM format", and then use it after converting an image into the RIM format.
When that is all for 51 pieces of number of RIM images included in the target directories, Wisvi divides it into plural pages, and it is displayed.IWhen you want to look at another page, you can change page controling the spin control of the window center right side "Result Page:".
Next, please select a query image. If you choose, it is displayed at "Query Image". When you double-click it, it is displayed at actual size (It is reduced to occupy screen when it is bigger than screen).
Moreover, you can choose a query image using File->Open.
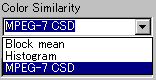
After a query image is selected, you can operate a parameter of the right side of "Query Image" depending on preference of a user. Operating "Weight", you are able to regard edge or color as important. In the "Color Similarity" control, you can select the color similarity "Block mean similarity", "Histogram similarity" and "MPEG-7 CSD".
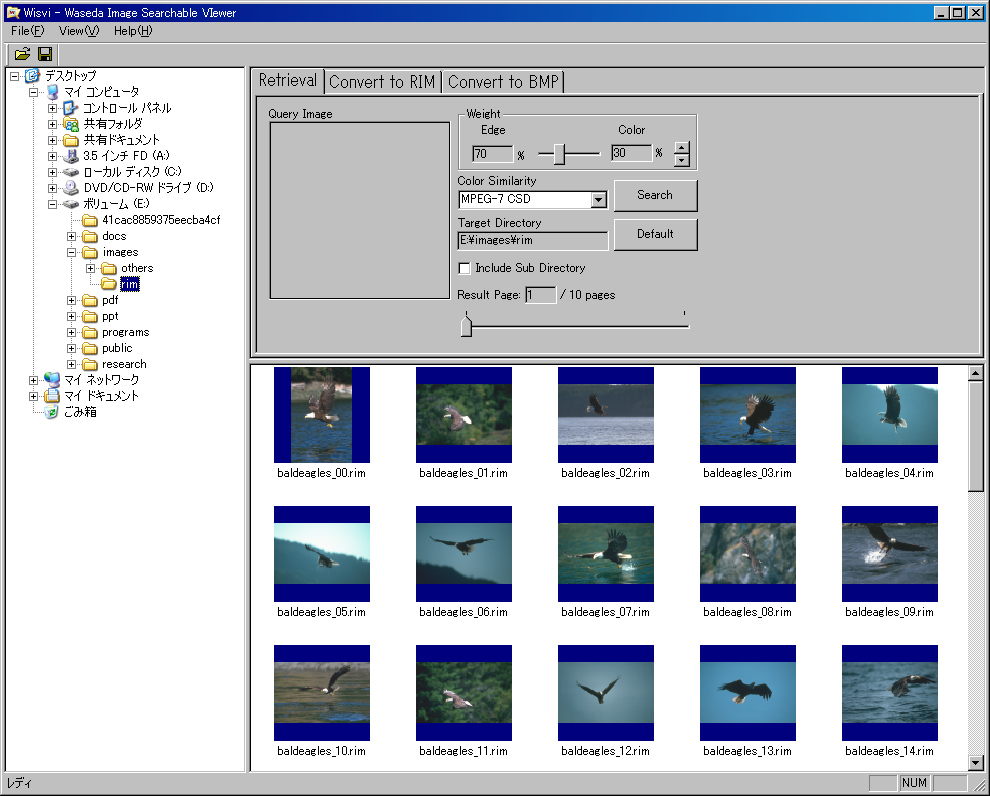
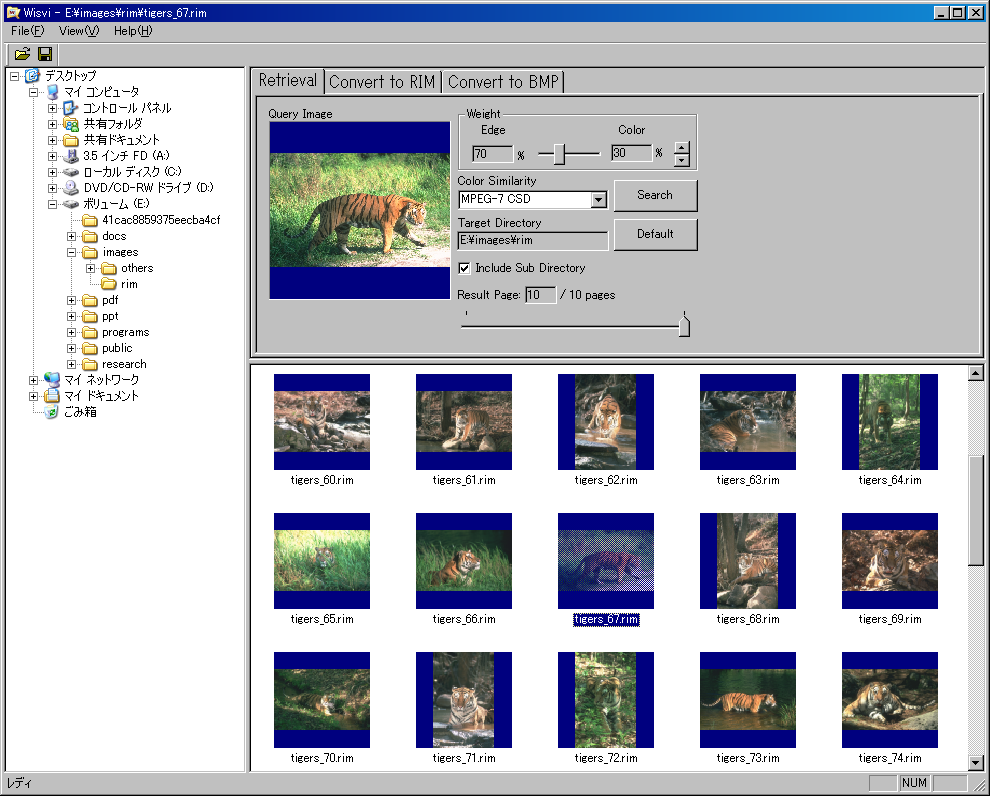
After this, please click "search" button, search is started. When the search is finished, thumbnail images is sorted automatically. The following screen shot is a screen after the search end.
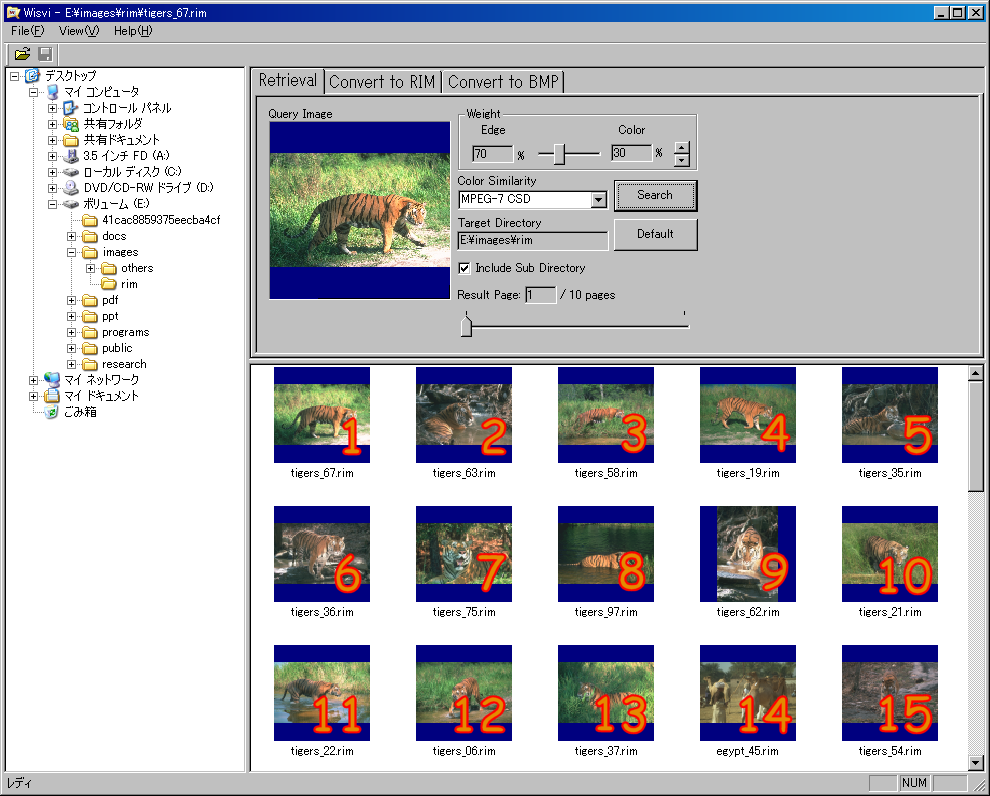
Like the upper screen, the image in the left is 1st, the 2nd place is right, ... In this example, retrieval results is displayed the 15th image with the upper screen.
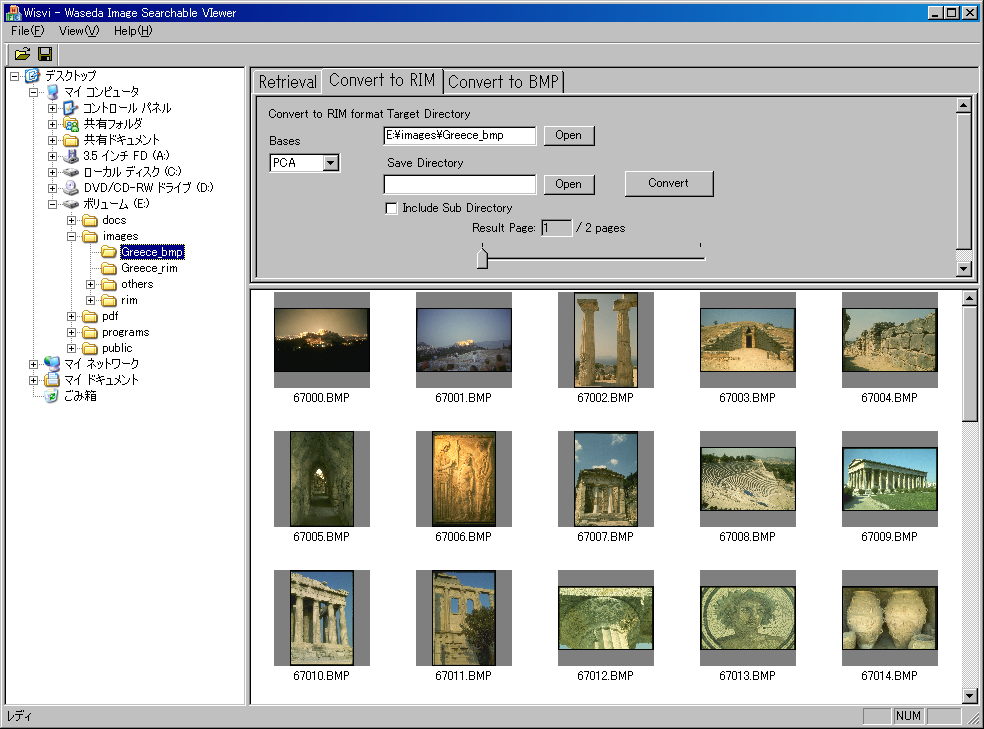
First, please select the "ConvertToRIM" tab in the upper right of the screen. After select this, please choose a target directory in the tree view. After this, the path of the selected directory is shown in the "Target Directory" Further more, you are able to select this "Open".
Second, please specify a directory storing an image after having converted it. If you click "Open" button in the right of "Save Directory", the following dialog is displayed.
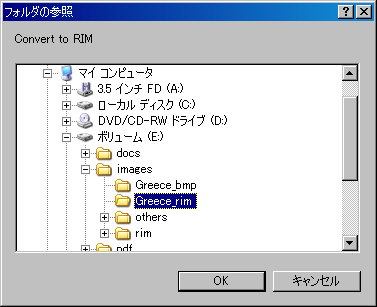
In the upper dialog, you select a destination directory, and then the path of the selected directory is displayed in "Save Directory".
After select, the pass is displayed each as follows by "Target Directory" and "Save Directory".
Finally, please select image bases. Those who doesn't have knowledge of image processing, signal processing, statistics or machine learning may skip this column. In default, the PCA bases are selected, but when you want to choose ICA bases, choose "ICA" at the "Bases" combo box.
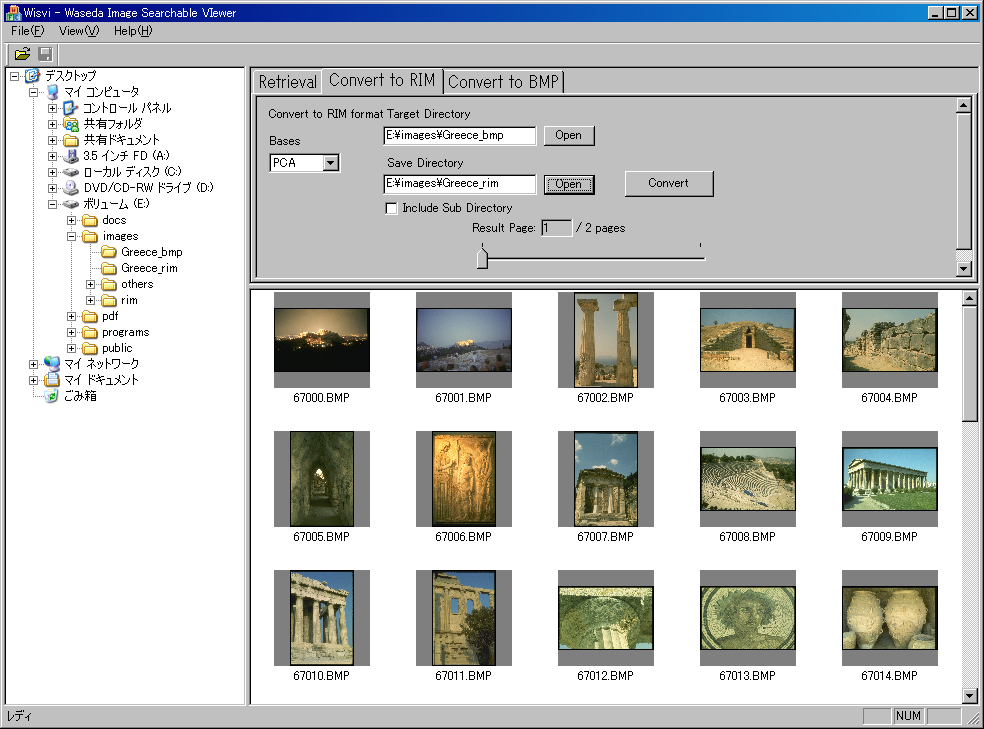
After all set up is finished, if you click "Convert" button, file conversion will start. When file conversion is ended, RIM images is made in the destination directory.
Because a file conversion is possibility, I will leave it out by the process that is similar to 3.